GameGrid: Game programming with Java |
|
| Research project PHBern |
Developing more complex applications using several classes it is easier to work with a local development environment. We recommend NetBeans instead of our Online-Editor.
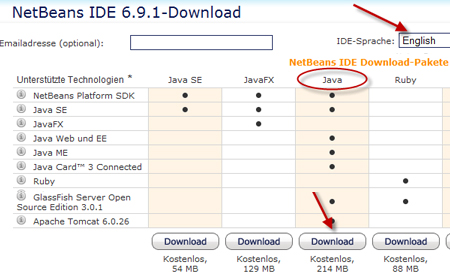
You need the following components:
|
|
 |
|
 |
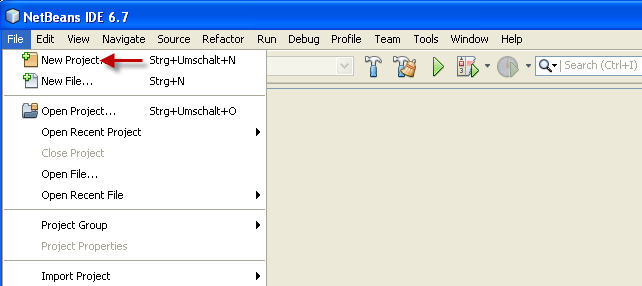
Start NetBeans and choose New Project from File.
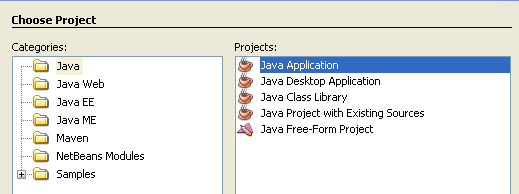
Select the category Java from Projects Java Application and click Next
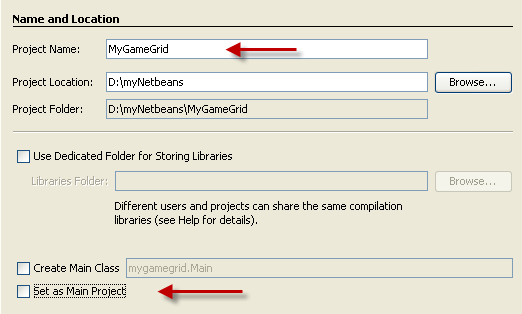 |
Typ in a project name and define the project location.
Deselect Create Main Class and Set as Main Project. Click Finish. |
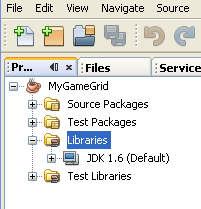 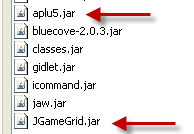 |
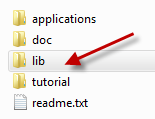
Right-click on Libraries and select Add Jar/Folder. Add JGameGrid.jar .
|
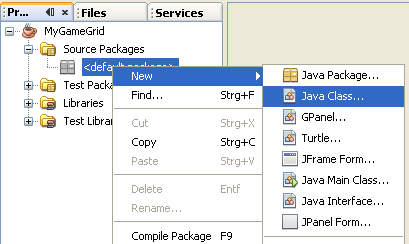
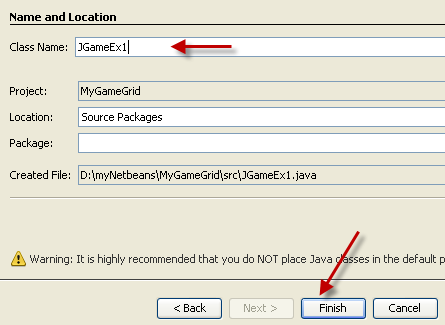
Right-click on <default Package> . Select New - Java Class
Typ in a class name and click on Finish. |
 |
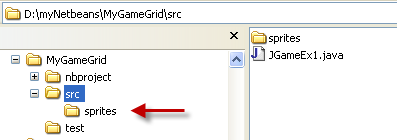
Create a directory sprites in your NetBeans project directory src. All pictures used as characters or background need to be placed inside this directory. |
 |
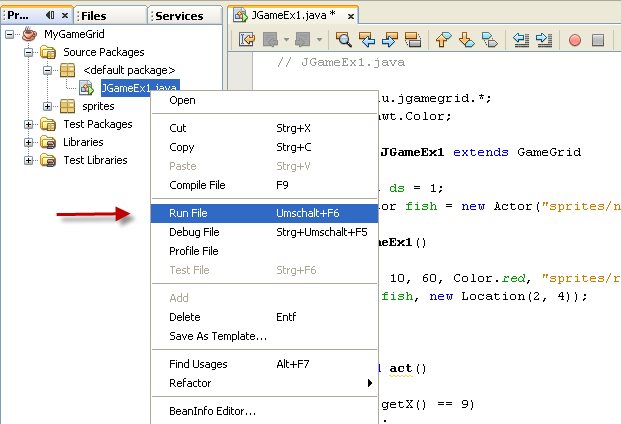 |
Right-click the class and select Run File. |
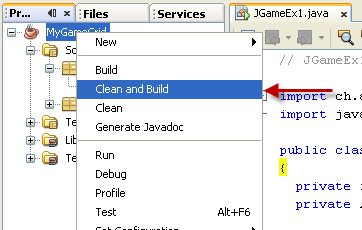 |
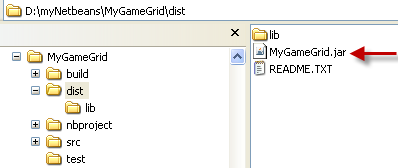
Right-click on the project name and select Clean and Build. Choosing this option the compiled class and the directroy sprites are added to the jar-file. This file can be found in the NetBeans project directory dist. |
Instructions as PDF: GameGridNetbeans.pdf